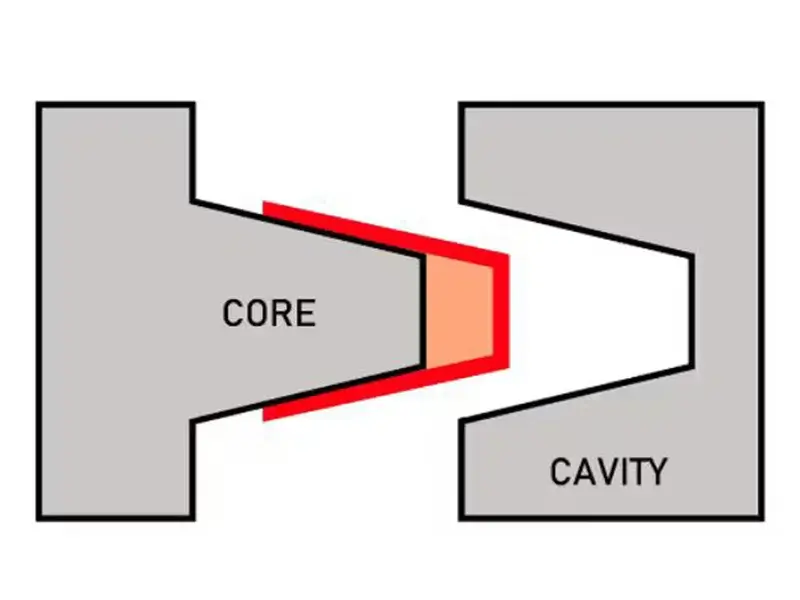
Injection moulding burn marks are a persistent challenge in plastic manufacturing, leaving unsightly discolorations and compromising product quality. These defects often arise from trapped gases, excessive injection speeds, improper venting, or overheating of materials. How to avoid and control burn marks in injection molding? In this article, we delve into the root causes and the most effective strategies to eliminate burn marks in injection molding, offering practical solutions to boost part quality and production efficiency.

What Are Burn Marks in Injection Molding?
Burn marks in injection molding are discolorations or dark streaks that appear on the surface of molded plastic parts. These imperfections, often black, brown, or dark gray in color, typically occur near the venting areas, sharp corners, or thinner sections of the part. The burn mark in injection molding is a result of trapped air or gas overheating within the mold cavity, leading to oxidation or thermal degradation of the plastic material.
Visually, burn marks in injection moulding present as distinct scorch marks, streaks, or even small, charred spots that compromise the aesthetic quality and structural integrity of the finished product. These defects not only tarnish the appearance but may also weaken the material, making the product susceptible to fractures or brittleness under stress. Burn marks and plastic injection molding issues are particularly problematic in applications requiring high visual standards or precision parts.
Causes of Injection Moulding Burn Marks
Burn marks in injection molding are typically caused by a combination of factors related to material behavior, process settings, and mold design.
Trapped Gas and Improper Venting
One of the leading causes of burn marks in injection molding is trapped air or gas within the mold cavity. As molten plastic rapidly fills the cavity, it compresses any residual air or gas. And if the mold lacks sufficient venting channels, or existing vents are clogged or too narrow, that gas has nowhere to escape. Trapped in this way, it becomes highly pressurized and superheated, triggering oxidation and leaving visible burn marks on the part.
Excessive Injection Speed and Pressure
Burn marks in injection molding often arise from excessive injection speed or pressure, which increases turbulence and causes air entrapment. When the molten plastic moves too rapidly, it fails to displace the air smoothly, leading to high-pressure pockets that heat up and oxidize, causing discoloration and streaks.
Overheating of the Material or Mold
Excessive heat during the molding process can cause the plastic material to decompose, generating gas that contributes to burn marks. High melt temperatures or poorly controlled mold temperatures can cause the polymer to degrade, producing dark marks or streaks on the surface of the molded part.
Decomposition of Plastic Material
Certain plastics are prone to thermal degradation when exposed to high temperatures for extended periods. This decomposition releases gases that become trapped within the mold cavity, forming burn marks. Material choice and thermal stability are crucial factors in minimizing these defects.

How to Prevent Burn Marks in Injection Molding
Preventing burn marks in injection molding requires careful attention to process parameters, material handling, and mold design. By addressing these factors early and implementing appropriate control strategies, the risk of burn marks and other plastic injection molding defects can be significantly reduced.
Injection Molding Machine Parameters Setting
First, several machine-related adjustments can be made. Reducing the injection speed is crucial as it helps prevent turbulent flow conditions that can lead to burn marks. Additionally, maintaining a back pressure below 2 MPa is recommended to reduce excessive heat buildup. Proper purging of the barrel is also essential when changing materials or colors to avoid introducing burnt material into the mold.
Injection Mold Design Optimization
From a mold perspective, improving venting is vital. To ensure sufficient venting, molds should have vents that are at least 0.001 inches deep and 0.001 inches wide. These vents should be strategically placed at the end of the flow path where air is most likely to be trapped. Regularly inspect and clean these vents to prevent clogging. For optimal performance, consider using a combination of venting methods, such as using ejector pins with vented tips or incorporating vacuum venting systems to enhance air evacuation.
Material Selection
In terms of material selection, ensuring that materials are properly dried is critical. For most plastics, the moisture content should be below 0.2%. Choose materials with a low moisture absorption rate and a suitable melt index to minimize the risk of burn marks. For example, using materials with a melt index between 5 and 20 g/10 min can help achieve a stable flow without excessive shear heating.
Injection Molding Process Optimization
Finally, temperature control and process optimization are also key factors. Lowering the melt temperature can reduce heat-related defects. For instance, reducing the melt temperature by 10°C can significantly decrease the likelihood of an injection molding burn mark. Additionally, using multi-stage injection molding can provide better control over fill rates and pressures, helping to reduce trapped air and prevent burn marks.

Common Issues Leading to Burn Marks and Solutions
Burn marks in injection molding are a common defect that can significantly impact product quality. These marks occur when air, resin, or gas becomes trapped and overheats during the molding process, leading to visible discolorations on the finished product. Here’s an overview of common issues leading to burn marks and potential solutions: