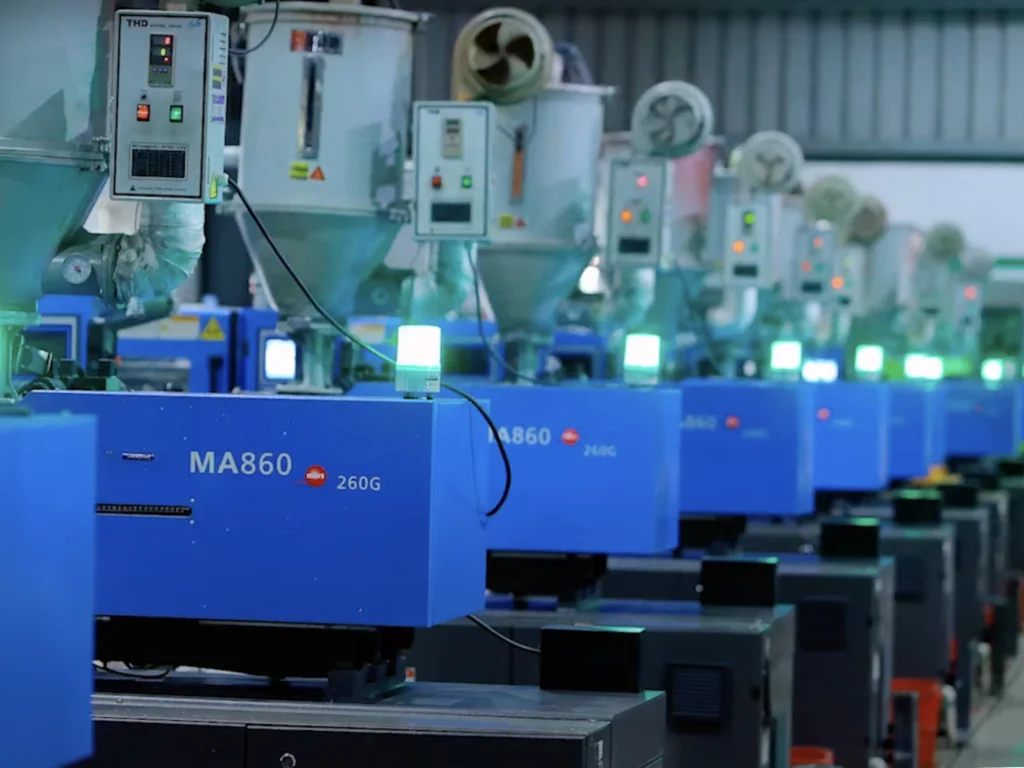
In custom plastic manufacturing, before launching high-volume manufacturing, a structured injection mold trial is required to validate cavity steel dimensions, verify cooling channel efficiency, and establish a repeatable scientific processing window. The injection mold trial bridges the gap between initial mold fabrication and full-scale production. It exposes hidden tooling defects, validates Design for Manufacturability (DFM) assumptions, and provides data required to achieve repeatable part quality.
What Is an Injection Mold Trial?
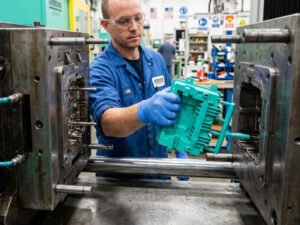
An injection mold trial is a series of tests performed on an injection molding machine to check whether a mold can produce parts that meet design and quality requirements.
The main objectives include:
- Verify Mold Operation: Check mold opening, closing, ejection, sliders, lifters, and cooling systems.
- Inspect Part Quality: Evaluate dimensions, appearance, and structural features.
- Identify Defects: Find problems related to mold design, material flow, cooling, or processing conditions.
- Evaluate Process Stability: Confirm whether the mold can produce consistent parts under repeatable conditions.
What Do T0, T1, T2, T3, T4, and T5 Mean?
T0, T1, T2, and other trial labels are commonly used to identify different mold testing stages. However, there is no universal industry standard defining every stage. Their exact meanings may vary between manufacturers and projects.
- T0 – Initial Mold Inspection: The first trial takes place after mold machining and assembly. The main purpose is to check mold alignment, parting surfaces, shut-off areas, and core or cavity interference. This step helps identify mechanical problems before the first injection trial.
- T1 – First Injection Trial: Plastic material is injected for the first time to produce the initial samples. The main focus is to check whether the cavity can be filled and whether the part can be molded. Short shots, severe flash, and other major molding problems are recorded. The goal is to obtain the first set of samples for evaluation.
- T2 – Major Mold Corrections: Based on the T1 results, the mold is modified to address major defects. Common corrections may involve gate locations, venting, and areas with significant sink marks. The purpose is to improve mold filling and correct obvious product defects.
- T3 – Appearance Improvement: This stage focuses on improving the product’s surface quality. Issues such as silver streaks, color differences, scratches, and visible weld lines are evaluated. Process adjustments or mold modifications are made where necessary to achieve the required appearance.
- T4 – Dimensional Inspection: Product dimensions are checked against the engineering drawings. Critical dimensions and tolerances are reviewed, and further corrections are made if necessary.
- T5 – Final Validation: The samples undergo final checks for appearance, dimensions, function, and assembly. Additional testing may be required to verify product performance and process consistency under production conditions. Once the agreed acceptance criteria are met, the mold can be approved for mass production and transferred to the production stage.
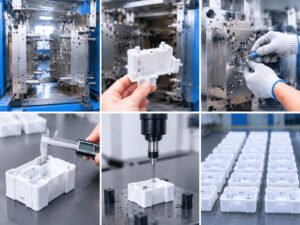
Not every project requires all six stages. The number of trials depends on mold complexity, product requirements, and the results of previous inspections. Before starting a project, the supplier and customer should agree on the objectives and acceptance criteria for each trial stage.
What Should Be Checked During an Injection Mold Trial?
A complete injection mold trial should cover five main inspection areas.
Mold Structure and Operation
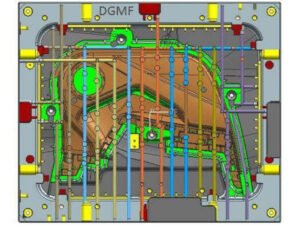
Check whether the mold opens and closes smoothly. Inspect ejector pins, sliders, lifters, core-pulling mechanisms, cooling channels, and mold reset functions. Any interference, sticking, or abnormal movement should be corrected.
Part Appearance
Inspect the samples for common defects, including:
Dimensional Accuracy
Measure critical dimensions against the 2D drawing. Pay particular attention to hole positions, wall thickness, flatness, overall dimensions, and assembly interfaces. For multi-cavity molds, samples from different cavities should also be checked for dimensional consistency.

Assembly and Functional Testing
Check whether the molded parts fit with mating components. Inspect snap-fit structures, screw holes, sealing surfaces, and positioning features. If necessary, perform functional tests under actual application conditions.
Process Stability
Record injection speed, injection pressure, holding pressure, melt temperature, mold temperature, cooling time, and cycle time.
Common Problems Found During Mold Trials
Different defects may come from mold design, material characteristics, or processing conditions.
| Defect | Possible Causes | Correction Direction |
|---|---|---|
| Short shot | Insufficient filling, poor venting | Review filling conditions and venting |
| Flash | Excessive cavity pressure, poor mold fit | Check process conditions and parting surfaces |
| Sink marks | Thick walls, insufficient packing | Review wall thickness and packing |
| Warpage | Uneven cooling and shrinkage | Review cooling layout and part design |
| Weld lines | Flow fronts meeting, poor venting | Evaluate gate position and material flow |
| Burn marks | Trapped air, excessive local heating | Improve venting and filling conditions |
Essential Components of a Mold Trial Report
A comprehensive mold trial report documents trial conditions, provides full traceability, and establishes a clear roadmap for necessary tooling modifications.

A complete mold trial report must include:
- Machine & Parameter Data: Recorded melt temperature, mold temperature controller setpoints, fill time, peak injection pressure, holding pressure profile, back pressure, and cooling cycle time.
- Metrology Inspection Data: A complete dimensional layout report indicating pass/fail status for all CTQ features.
- Visual Defect Log: High-resolution photography documenting cosmetic anomalies, weld line locations, and gate appearance.
- Root Cause & Action Plan: Specific technical directives indicating whether corrective steps require steel modification, gating redesign, vent expansion, or process parameter shifts.
When Is an Injection Mold Ready for Mass Production?
An injection mold is ready for mass production when it meets the agreed requirements in four areas:
- Mold Functionality: Opening, closing, ejection, cooling, and other mechanisms operate correctly.
- Part Quality: Critical dimensions, appearance, assembly, and functional requirements meet specifications.
- Process Stability: Repeated production produces consistent parts without excessive manual intervention or extreme processing conditions.
- Production Readiness: Cycle time, equipment compatibility, production capacity, and quality inspection methods meet project requirements.
Conclusion
An injection mold trial is an essential part of mold validation before mass production. It verifies mold operation, identifies product defects, and evaluates whether the molding process can consistently meet quality requirements.
At Flexiparts, we manage the complete injection mold validation lifecycle for custom plastic components. From initial DFM analysis and mold flow simulation to T1 mold trial execution and complete mold trial report documentation, our engineering team ensures your tooling delivers consistent, zero-defect parts over its operational lifespan. Contact our technical team today to upload your 3D CAD models (STEP, IGS, or PDF) for a comprehensive DFM evaluation and custom tooling quotation.